Projection Screen Materials & Gain Tips for Bright Rooms 2024
I vividly remember the first time I set up my home theater in a sunlit room, only to realize that my screen looked washed out, with glaring reflections killing the picture quality. It was a real lightbulb moment—literally. I had invested in a decent projector and a screen, but overlooking the importance of screen gain and material in bright environments cost me hours of frustration. Have you ever faced a similar issue, where your viewing experience falls flat just because of room conditions?
Win Over Bright Rooms with the Right Screen Choices
Choosing the right projection screen material and gain is crucial, especially when your space isn’t darkened and ambient light is unavoidable. The key is understanding that not all screens are created equal, and what works in a dark cinema-like environment might fail miserably under bright conditions. Today, I’m here to help you navigate this often-overlooked aspect so you can enjoy vibrant, clear images regardless of how much sunlight slips into your room. We’ll look into the top screen materials for bright rooms and how to match gain levels to your space, so your home theater shines in any lighting situation.
Is Screen Gain Actually Worth the Hype?
Let’s address a common skepticism—many assume that high-gain screens are always better. Well, I made this mistake early on, buying a super high-gain screen without considering how it would reflect ambient light. The result? Excessive glare and loss of contrast, which defeated the purpose. The secret is finding a balanced gain suitable for your environment. Curious about how to choose the right gain levels? Check out this comprehensive guide to ALR screen technology and gain for more insights. Understanding the nuances can truly make or break your viewing enjoyment.
Select the Right Screen Material and Gain
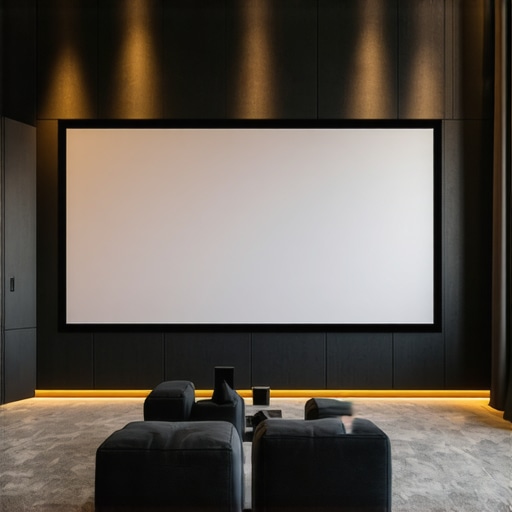
Begin by choosing a high-quality, ambient-light-rejecting (ALR) screen designed for bright environments. Look for a material with a gain between 1.1 and 1.3—enough to enhance brightness without causing glare or hotspots. When I set mine up, I replaced a standard matte white screen with an ALR screen specifically made for daytime viewing, which immediately improved contrast and color vibrancy. Learn more about top ALR screen options for bright rooms to select materials optimized for your space.
Match Screen Size and View Distance
Next, determine the appropriate screen size considering your room dimensions. Use the “2.4 to 3 times the screen height” rule for viewing distance—meaning your seating should be roughly that distance from the screen for optimal immersion. For example, in my 12-foot room, I aimed for a screen about 100 inches diagonally, which balanced visibility and ambient light management. Use this sizing guide to avoid overpowering small rooms or creating a loss of detail in larger spaces.
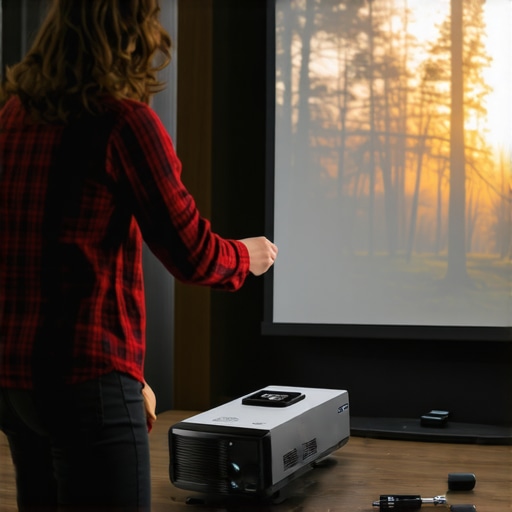
Position Your Projector Strategically
Place your projector at the correct distance to achieve the desired screen size. Calculate the throw distance using your projector’s throw ratio—most manufacturers provide this info. If my projector had a 1.5:1 ratio, and I wanted a 100-inch screen, I set it approximately 12.5 feet away. Fine-tune the projector’s positioning by marking the ideal spot and verifying the image fits perfectly on the screen. Remember, a misaligned projector can cause keystone distortion, reducing image quality. For precise setup, consult this guide on adjusting projection geometry.
Optimize Lighting Conditions
Manage ambient light by eliminating unnecessary sources—close curtains, turn off lights near the screen, and use dimmable fixtures. If space allows, install blackout blinds or curtains to cut down sunlight. I found that even minor reflections in my room—like a desk lamp or glossy finish—dampened picture contrast. By controlling lighting, I was able to leverage the high gain of my ALR screen and maintain vibrant images throughout the day. For detailed lighting setup, check this comprehensive guide.
Fine-Tune Your Setup
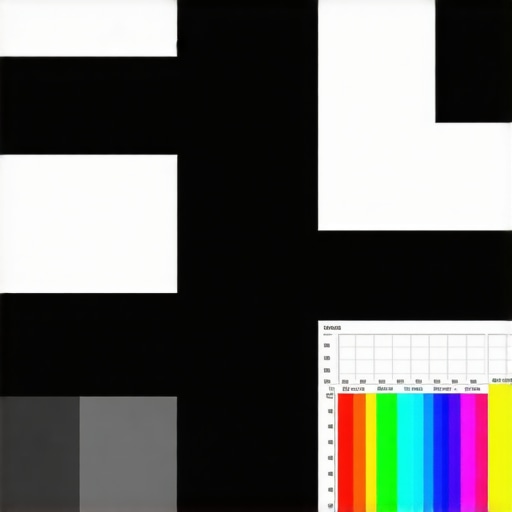
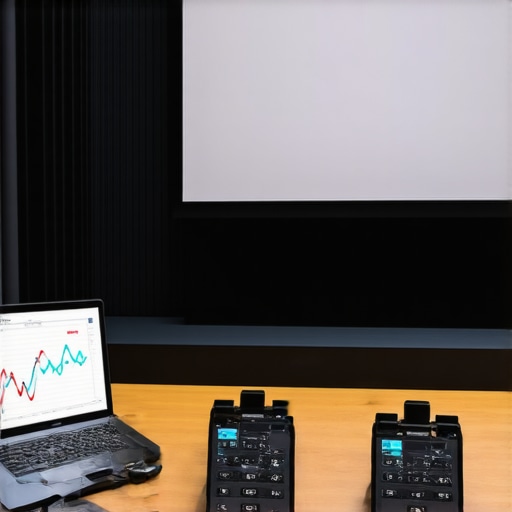
Finally, calibrate your projector’s settings—brightness, contrast, and color balance—for the best picture quality. Use a calibration disc or professional tool to adjust these parameters precisely. In my first attempt, I set auto modes and was disappointed by washed-out images; a manual calibration brought my colors to life and improved black levels significantly. Remember, small adjustments make a huge difference. For expert tips, explore this guide for fine-tuning projection in bright rooms.While many home theater enthusiasts focus on selecting the right projector or room layout, there’s a lesser-known realm filled with misconceptions and subtle pitfalls that can significantly impact your viewing experience. Let’s dig deeper into what most people misunderstand about projection screens, screen size, ALR technology, materials, and gain, and how these nuances can make or break your setup.
Is Bigger Always Better? The Hidden Truth About Screen Size
Many assume that larger screens automatically mean a more immersive experience, but this isn’t always the case. Oversized screens in small rooms can lead to diminished image clarity, increased ambient light reflections, and eye strain. Proper sizing should consider room dimensions and seating distance, following guidelines like the optimal screen size recommendations. The goal is balanced visual impact, not just size for size’s sake. Overharvesting screen real estate can introduce unwanted glare and reduce image brightness, especially if your projector isn’t bright enough for a massive display.
Mastering the Maintenance of Your Projection Setup
To ensure your home theater remains vibrant and reliable over the years, regular maintenance of your projection screen and equipment is essential. This involves a combination of cleaning, periodic calibration, and careful handling of tools and materials. I personally recommend using a soft microfiber cloth and gentle, non-abrasive cleaning solutions specifically designed for screen surfaces to remove dust and smudges without damaging the material. Regularly checking and adjusting your projector’s settings—like contrast, brightness, and color balance—can prevent image degradation and keep your visuals crisp. Additionally, inspecting and cleaning air filters on your projector ensures optimal ventilation and prevents overheating, which can harm internal components over time. For screens utilizing advanced ALR materials, gentle cleaning with mild solutions preserves their reflective properties and gain characteristics, maintaining that stellar brightness even after years of use. I’ve found that establishing a routine—say, once every three months—significantly extends the lifespan of both the screen and projector.
In my experience, investing in the right tools makes all the difference. For example, a dedicated, calibrated sensor like the X-Rite i1Display Pro allows for precise color calibration, ensuring your images stay true to life. It’s worth noting that, in the future, I predict that more home theater enthusiasts will adopt smart calibration tools equipped with AI capabilities, automating adjustments based on ambient lighting and room changes, which will greatly simplify maintenance.
How do I maintain my projection screen and gear for longevity?
Maintaining your projection equipment involves careful handling, regular cleaning, and staying updated on the latest calibration techniques. Use gentle cleaning tools and avoid harsh chemicals that could degrade screen surfaces—especially for specialized materials or those with high gain properties. Keep an eye on projector lamp hours; replacing bulbs before they dim too much preserves image quality. Additionally, storing remote controls and other accessories in a safe, dust-free environment reduces clutter and accidental damage. Scheduling a professional calibration every couple of years can also optimize performance, especially if room conditions change. For more detailed techniques, consult resources like this guide on screen maintenance and calibration.
Regarding tools, I highly recommend using a luminance meter to measure your screen’s gain and brightness output regularly. This helps identify if the material has been affected by environmental factors or handling, so you can perform targeted cleaning or calibration. Remember, choosing high-quality cleaning solutions and calibration devices can save you money and frustration down the line.
Looking ahead, I believe that integrating IoT-enabled sensors into home theater setups will revolutionize maintenance routines, providing real-time feedback on equipment health and ambient conditions. For now, starting with a reliable calibration tool and establishing a routine cleaning schedule will secure your investment and ensure consistently excellent picture quality.
To try an advanced maintenance tip, consider performing a full calibration using a colorimeter like the X-Rite i1Display Pro combined with software like CalMAN or LightSpace. This process fine-tunes your projector’s output, ensuring the image remains vivid and accurate over time. Regular calibration is critical, especially when ambient light or bulb aging can subtly shift your picture. For detailed guidance, refer to this comprehensive resource. Begin incorporating this tip today—your eyes will thank you for the crisp, consistent visuals every time you watch.
What I Wish I Knew About Bright Room Projection Secrets
One lightbulb moment was realizing that the best projector isn’t enough—you need the right screen to match your environment. Over time, I discovered that not all screens with high gain are created equal; some cause hotspots, while others enhance brightness evenly. The importance of matching screen gain to ambient lighting became clear after I experimented with different materials, leading to vibrant images during daytime movie marathons.
How My Missteps Led to Better Home Theater Choices
I once chose a huge screen without considering my room size, which resulted in discomfort and loss of detail. Learning to size my projection using my room’s dimensions and following guidelines like the projection screen size tips transformed my setup. These lessons taught me that bigger isn’t always better—it’s about balancing size with clarity and ambient light management.
The Impact of Screen Material and Gain on Bright Environments
Initially, I overlooked material quality, thinking all screens reflected light equally. Switching to an ALR (Ambient Light Rejection) material with the right gain drastically improved contrast and color fidelity. Understanding that a gain between 1.1 and 1.3 works best in my bright room helped me avoid glare and hotspots. For specific material recommendations, I refer to the top ALR screens for bright rooms.
Taking Control of Setup and Maintenance
Proper projector placement and regular calibration became my best allies. I found that calculating throw distance correctly prevents keystone distortion, and periodic calibration with tools like the calibration guides restores vividness over time. These adjustments ensured my projection remained crisp, vibrant, and immersive, even months down the line.
Finish Strong: Embracing Personal Growth in Home Projection
Every misstep was a learning opportunity, helping me appreciate the nuance behind choosing the perfect projection screen, size, and gain for bright rooms. This journey taught patience, experimentation, and the importance of tailored solutions. If you’re hesitant, remember that small tweaks—like switching to an ALR screen or recalibrating your projector—can lead to huge improvements. Ready to elevate your setup?
Reading this post really resonated with my own experience setting up a home theater in a bright living room. I initially bought a standard matte white screen, assuming size was the main factor for immersion, but quickly learned that ambient light and screen gain are equally crucial. Switching to an ALR screen with a gain around 1.2 made a dramatic difference, especially during daytime movies. What’s interesting is how much room lighting can still affect image contrast, even with top-tier screens. I’ve found that investing in proper lighting control—like blackout curtains and dimmable lights—complements the right screen material perfectly. For those struggling with reflections or glare, are there specific screen placements or angles you’ve found most effective at reducing unwanted reflections without compromising image quality? I’d love to hear others’ tricks for maintaining vibrant picture quality in naturally bright environments.