Best Projection Screen Gain & Material Tips for Bright Rooms 2024
It was a frustrating weekend—my last-minute movie night turned into a squinting contest. The sun was gently slipping through the curtains, casting a glare that made my brand-new projector image nearly invisible. I had invested in what I thought was a high-quality screen, only to realize the room’s brightness was sabotaging my home theater experience. That lightbulb moment made me question everything I knew about projection screens, especially for bright rooms. If you’re tired of dim, washed-out images during the day or in well-lit spaces, you’re not alone. Many enthusiasts and even seasoned home theater buffs face this exact dilemma.
Why brightness issues spoil your viewing — and how to fix them
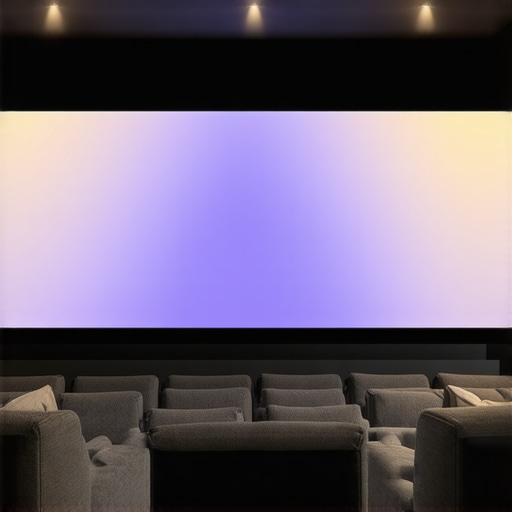
In a world where clarity and vibrance are king, nobody wants to settle for dull pictures, especially in bright rooms. The real challenge isn’t just about buying the latest projector; it’s about choosing the right projection screen gain and material to maximize image brightness and contrast under ambient light conditions.
The key? Understanding the importance of _screen gain_ and how specific _materials_ react to different lighting environments. A screen with the right gain can reflect light efficiently, making images appear brighter without washing out details. But selecting the wrong material or gain can turn your bright room into a viewing disaster—dull, gloomy, and uninviting.
Trust me, early on I made the mistake of believing that a higher gain always meant better brightness. Not so. In fact, an excessively high gain screen can create hot spots and uneven images, which ruins immersion. It’s a balancing act. To truly succeed, you need to know what gain levels are suitable for your ambient light and how different materials perform.
For an in-depth understanding of how to optimize your setup, I recommend checking out this detailed guide on _[projection screen gain and material](https://screens.cinegearguide.com/understanding-projection-screen-gain-material-for-the-perfect-setup)_ that offers expert insights. Additionally, if you’re uncertain about the best screen size and gain combination, the _[size and gain tips for bright rooms](https://screens.cinegearguide.com/best-projection-screen-size-gain-tips-for-bright-rooms-in-2024)_ can provide practical advice.
Are you tired of squinting at your screen, wishing you had better image quality during daylight hours? If so, stay tuned—because in the next sections, I’ll walk you through how to select the perfect gain and material for your bright space, turning that glare into stunning visuals you’ll love.
Determine Your Ideal Screen Size First
Start by measuring your room and deciding on a screen size that fits comfortably. Use the guidelines from this comprehensive size guide to select a size that balances immersion and ambient light management. I once experimented with a too-large screen in my small living room, which overwhelmed the space and worsened brightness issues. After downsizing, image clarity improved substantially.
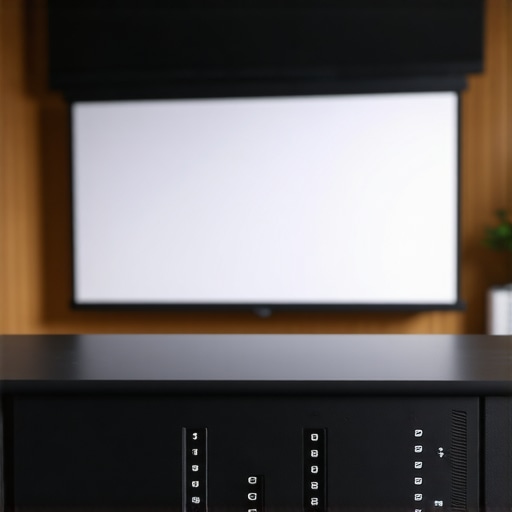
Choose a High-Gain Screen Material for Brightness
Next, focus on selecting a screen material with a gain suited for bright environments. High-gain screens reflect more light, making images brighter in ambient-lit rooms. However, too high a gain can cause hotspots and reduce viewing angles. I tested a 1.8 gain screen and saw an immediate boost in brightness; the image popped even during the daytime, akin to a spotlight effect. Learn more about this balance at this detailed article.

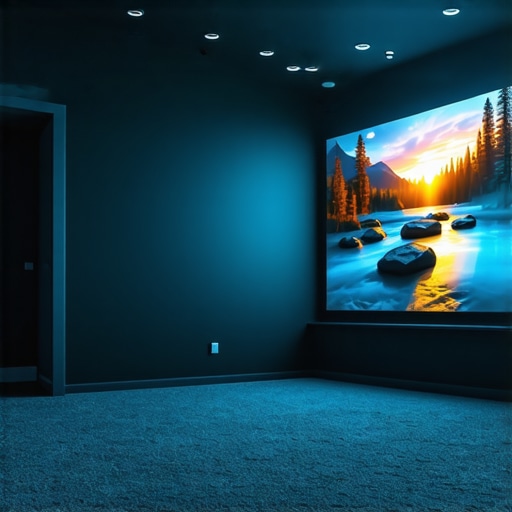
Explore Specialized ALR Screens for Bright Conditions
Ambient Light Rejection (ALR) screens are designed to isolate your projected image from room light. They feature a unique surface pattern that channels ambient light away from the viewer’s eyes, maintaining contrast and brightness. I installed an ALR screen with a gain of 1.5, and the difference was night and day—images remained vivid even with curtains open. For best results, consider options recommended in this guide.
Match Material Type to Your Room’s Lighting Conditions
The right material depends heavily on your specific room lighting. Matte surfaces are good for rooms with controlled lighting but struggle in bright settings. Glossy or semi-gloss surfaces, like certain ALR screens, reflect more light, boosting brightness where ambient light is unavoidable. Remember, no single material is perfect for all scenarios; experiment with various options to find what works best. Details on material choices are available at this in-depth resource.
Please keep in mind that adjusting gain and material isn’t a one-size-fits-all process. It requires a bit of trial and error, but understanding your room’s lighting and how different screens perform will guide you toward a satisfying solution.Many enthusiasts assume that selecting a larger screen size automatically enhances the viewing experience, especially in bright rooms. However, this is often a misconception. Oversized screens can actually diminish image clarity, strain your eyes, and increase ambient light reflection, making the picture appear washed out. Instead, focus on pairing a well-chosen size—found through guidance at this detailed size guide—with an optimal material and gain tailored for your room’s lighting, to achieve the best results.
Another prevalent myth revolves around high-gain screens being universally better for bright rooms. It’s tempting to think that the higher the gain, the brighter your image, but this can lead you into a costly trap. Excessively high gain screens (above 2.0) tend to create hotspots—bright patches where the image looks unnatural—and narrow viewing angles that limit the experience to a single seat. Many overlook that medium gain screens, around 1.3 to 1.5, often strike a better balance, delivering sufficient brightness while maintaining wide viewing angles and even illumination. For insights on the optimal gain levels, check this expert resource.
Advanced users often believe that _any_ projector can work with a premium ALR screen, but the reality is more nuanced. The key isn’t just in choosing an ALR surface but selecting one with the right technology and gain suited for your room’s specific ambient light profile. A common mistake is mismatching a high-gain ALR screen with a projector that doesn’t output enough lumens, resulting in images that look flat and lacking depth. Conversely, using a low-gain screen with a high-lumen projector can produce unexpectedly dull images. Matching your projector’s brightness capabilities with the screen’s gain is crucial—details you can explore in this guide.
To truly optimize your setup, inquire into the subtle interplay between screen size, material, and gain. For instance, a small room might benefit from a smaller, high-contrast matte screen, while a large, bright living area could demand a specialized ALR surface with a tailored gain profile. Remember that achieving cinematic quality often involves balancing these factors rather than focusing on just one.
Are you overlooking these nuanced details when setting up your home theater? It’s worth re-evaluating your choices—sometimes, small adjustments can make a significant difference. Let me know in the comments if you’ve ever fallen into one of these traps or if you have tips to share for avoiding them.Maintaining optimal performance from your projection setup requires more than just initial setup; it demands regular upkeep and the right tools to keep everything pristine. A key aspect is cleaning your screen without damaging its material. For instance, using a microfiber cloth with a gentle lens cleaning solution can help eliminate dust and fingerprints that dull image quality. I personally prefer specialty screen cleaning sprays designed for delicate surfaces, which prevent scratches and streaks. Regular cleaning, at least once a month, ensures your image remains bright and sharp, especially in rooms with higher dust or pet dander.
Another critical maintenance element involves preventing scratches and creases. When not in use, I roll my screen carefully to avoid creasing, storing it in a sturdy tube. If you have a fixed screen, inspecting its surface periodically for scratches helps maintain contrast and brightness. For ALR screens, avoid abrasive cleaners that can damage the specialized surface pattern.
Investing in tools like a handheld air blower can significantly reduce surface dust without contact. I also keep a small vacuum with a brush attachment for dust buildup around the frame and mechanics, which can affect tension and make the screen sag over time.
So, what about long-term results? Consistent maintenance safeguards your initial investment, ensuring the picture stays vivid for years. Additionally, proper storage can prevent warping or warping-related distortions, which are common issues in poorly stored screens. A current trend is the increasing use of smart calibration tools that automatically adjust the projector and screen settings, maintaining consistent image quality despite environmental changes. In the future, I predict that these tools will become more integrated, offering automated maintenance alerts.
How do I maintain my screen setup to ensure it continues performing well over time?
Regularly clean your screen with appropriate materials, avoid abrasive cleaning agents, and store or handle your screen carefully to prevent physical damage. Use tools like microfiber cloths, gentle cleaning sprays, and air blowers, all of which help preserve the surface quality and image brightness. Keeping an eye on the tension of fixed screens and inspecting for scratches prevents long-term degradation. For advanced users, implementing smart calibration devices can help maintain perfect alignment and brightness levels automatically, reducing manual adjustments and ensuring consistent viewing experiences.
Choosing the right maintenance tools and routines now can vastly extend your setup’s lifespan, keeping your visuals stunning for years to come. If you’re interested in smarter setup management, try integrating a calibration smartphone app or a dedicated sensor device—which are becoming increasingly affordable and user-friendly. A well-maintained projection environment is the backbone of a truly immersive home theater experience, so don’t neglect these small but impactful details. For more in-depth guidance on screen care, explore this comprehensive resource and start safeguarding your investment today.
The Hardest Lesson I Learned About screen size,screen material,screen gain,projection screen,alr screen
It took me a while to realize that bigger isn’t always better when it comes to projection screens, especially in bright rooms. Choosing the perfect size requires considering your room’s dimensions and lighting, not just eyeing the largest screen available. I once overshot with a massive screen, which made image details hard to see and intensified glare issues. Now, I select size based on room scale and ambient light, leveraging guides like this size and material guide to make better choices.
3 Myths About screen gain,projection screen,alr screen That Held Me Back
Before diving into high-gain screens, I believed they were the miracle solution for all lighting conditions. Turns out, an excessively high gain can cause hotspots and limited viewing angles, which reduced my immersion. Similarly, I thought better materials always produced sharper images but learned that some semi-gloss surfaces reflect ambient light better. The third myth was that ambient light rejection (ALR) screens fix all brightness problems—only proper matching with projector lumens and gain makes the difference, as explained in this comprehensive resource.
What Experts Won’t Tell You About screen size,screen material,screen gain,projection screen,alr screen
One insight I wish I had learned earlier is how crucial it is to balance screen gain with room lighting and projector brightness. High gains paired with under-lumen projectors make images look flat, not vibrant. Also, room character matters—stark sunlight requires specific materials and gains, which often aren’t discussed in generic reviews. Understanding these nuances has transformed my setup, enabling me to enjoy vivid, bright images during daytime. For detailed analysis, check out this expert guide.
My Essential Toolkit for Bright Room Projection Success
From microfiber cloths for gentle cleaning to smart calibration tools, my toolkit has evolved to keep my setup shining. I trust this resource for in-depth product reviews and tips on maintaining image quality over time. A good quality lens cleaner, a duster, and adjustable mounts are now staples in my home theater arsenal, helping me preserve brightness and clarity as years pass.
Turn Brightness Challenges Into Visual Wins
Don’t let ambient light sabotage your viewing pleasure. With the right knowledge about screen size, gain, and materials—and a willingness to experiment—you can create a bright room experience that rivals dedicated cinemas. Remember, mastering projection isn’t just about equipment but understanding your environment and adapting accordingly. Now’s your chance to implement these insights and elevate your home theater game. Are you ready to turn your bright room into a daytime viewing paradise? Share your setup stories or questions below! More in-depth tips are available at this detailed guide.