
Projection Screen Material & Gain Guide for Bright Rooms
I remember the frustrating moment when I set up my home theater in a room that was flooded with natural light. No matter how high I cranked up the projector’s brightness, the image always looked washed out, and I felt like I was throwing my money into the void. That light-induced disappointment was a lightbulb moment for me. I realized that choosing the right projection screen material and understanding its gain could make or break my viewing experience, especially in bright environments.
Why Bright Rooms Demand Special Attention to Screen Gain
In rooms with lots of ambient light, standard screens just don’t cut it. You need a screen that can reflect enough light to produce a vibrant image without washing out. This is where screen gain comes into play. Gain essentially measures how much light a screen reflects compared to a standard matte white surface. A higher gain means more reflected light, which is crucial for bright rooms. But beware—getting this balance wrong can lead to glare or overly hot spots, ruining the picture quality.
Early in my journey, I made a common mistake: I assumed that a high-gain screen was always better. Nope. While they can improve brightness, they can also produce uneven images if not matched correctly with your projector and room conditions. That’s why I’ve committed to understanding the nuances of screen gain and material options. For a deeper dive into how to choose the right size and material, check out this size and material guide.
Is Screen Gain Really the Key to Bright Room Success?
Honestly, I was skeptical at first. I wondered if investing in an expensive high-gain screen would really make a difference. It turns out I was missing a critical point—matching the gain to your projector’s lumen output and room lighting. High gain can indeed amplify brightness, but only if used correctly. And yes, this can be a game-changer, especially if you’ve struggled with washed-out images in well-lit spaces. For a comprehensive understanding, I recommend reading this ALR screen gain options guide.
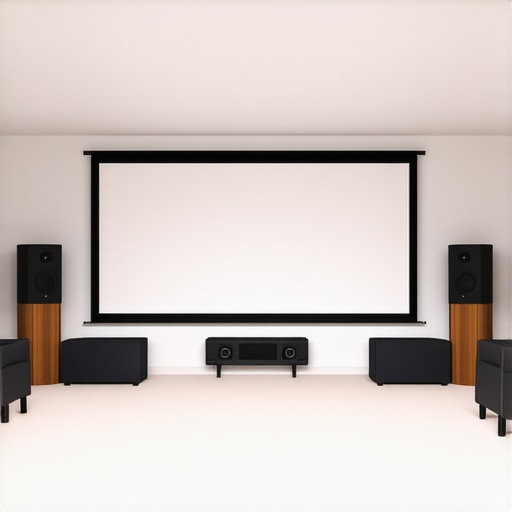
Pick the Right Screen Material to Maximize Brightness
Start by selecting a projection screen material designed for high ambient light environments. Matte white screens with a gain of 1.0 to 1.3 are often a good choice because they reflect light evenly without glare. I once tried a generic white matte screen, but it washed out in my bright living room. After switching to a specialized high-gain material, the image became vibrant and clear, even with my projector set to eco mode. For detailed material options, check out this guide on projection screen materials and gain.
Calculate the Correct Screen Size for Your Space
Measure your room carefully to determine the optimal screen size. A good rule of thumb is to have the screen occupy about 30-40% of the room’s width for immersive viewing. For example, in my 12-foot wide room, I opted for a 100-inch diagonal screen, which filled the space without overwhelming it. Use this size selection guide to refine your choice.
Adjust Projector Settings for Bright Environments
Set your projector to high brightness mode or increase the lumen output if available. I once underestimated my projector’s brightness and used a standard setting, resulting in a dull picture. After switching to a brighter mode and ensuring my projector’s lens was clean, the picture popped even in daylight. Don’t forget to disable any energy-saving features that reduce brightness during playback. For tips on matching projector specs with your screen, review this expert guide.
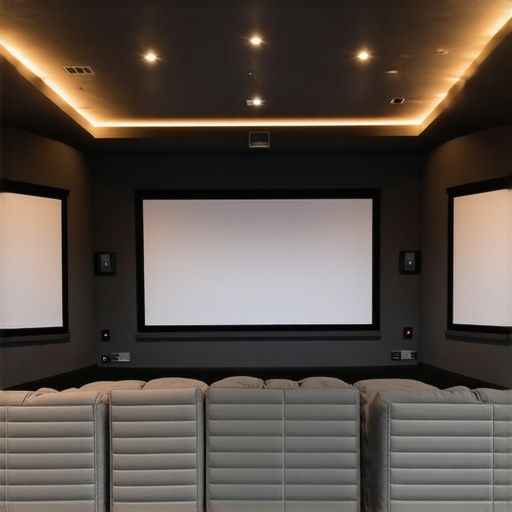
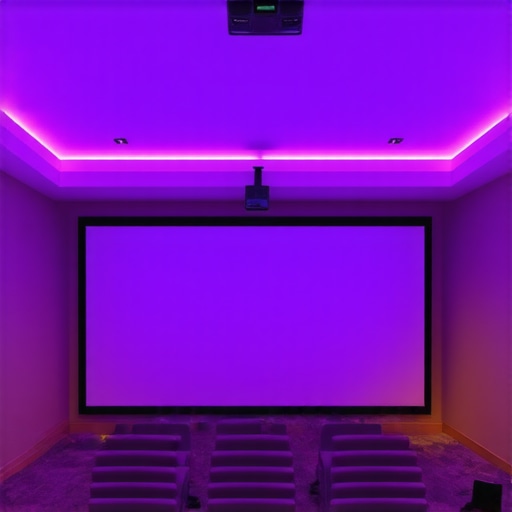
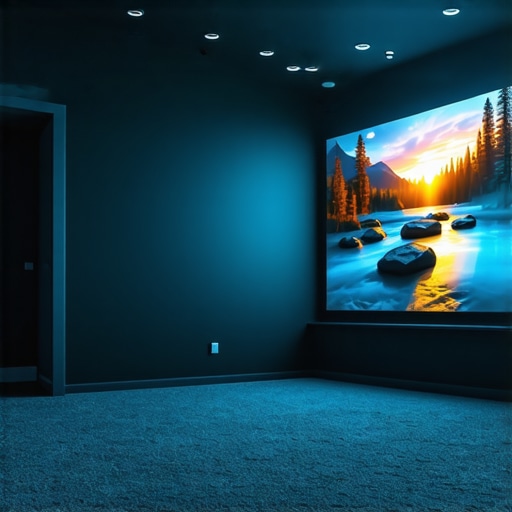
Optimize Room Lighting to Prevent Washout
Control ambient light with blackout curtains or blinds. I installed blackout shades, which instantly improved contrast and color vibrancy. If complete blackout isn’t possible, use directional lighting that doesn’t shine directly on the screen. Consider adding bias lighting behind your seating area to reduce eye strain without affecting picture quality. For more lighting strategies, see this lighting optimization tips.
Fine-tune Your Setup for Consistent Results
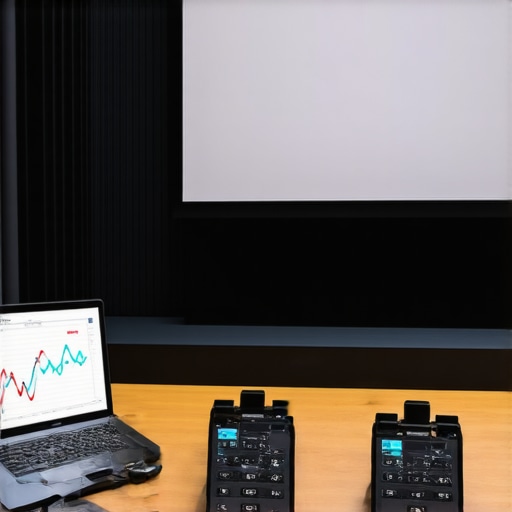
Regularly calibrate your projector to ensure accurate color, contrast, and brightness. Use calibration tools or test patterns to verify uniformity across the screen. I once noticed hot spots in the corners after moving my setup; adjusting the projector’s keystone and zoom corrected this issue. Remember, small adjustments can significantly improve image quality in bright rooms. For advanced calibration techniques, consult this comprehensive calibration guide.
Many enthusiasts believe that choosing a high-gain screen is a straightforward solution for bright room setups, but the reality is more nuanced. In fact, oversimplifying screen gain can lead to suboptimal results, especially if you overlook the critical interplay between gain, projector brightness, and room lighting. For example, a common myth is that higher gain always means a better picture. However, screens with very high gain (above 2.0) tend to produce hot spots and uneven light distribution, which can distort the viewing experience. Instead, aim for a balanced gain, around 1.3 to 1.5, which provides brightness without sacrificing uniformity. To get this right, it’s essential to understand the specific gain characteristics of your chosen material, which you can explore in this comprehensive guide on screen gain.
Are You Falling for the Screen Size Trap?
Another common oversight is selecting a screen size based solely on room dimensions without considering the optimal viewing distance and resolution. Many assume that bigger always means better, but a too-large screen can cause eye strain and reduce image sharpness, especially if your projector’s resolution isn’t high enough. A good rule is to have the screen occupy about 30-40% of your room’s width, but always cross-reference with your projector’s native resolution and lumen output. For precise sizing tips, check out this size and material guide.
Moreover, many underestimate how room lighting impacts your setup. Even with a high-gain screen, glare and ambient light can wash out the image. The key is to control ambient light sources—consider blackout curtains and strategic lighting placement—and match your screen material accordingly. A matte white screen with a gain of around 1.0 to 1.3 is often underrated for its ability to provide even reflection without glare, as discussed in this material and gain guide.
Why Projector Calibration Matters More Than You Think
Many overlook the importance of proper projector calibration in bright environments. Adjusting brightness, contrast, and color settings to match your screen and lighting conditions can significantly improve image quality. For instance, a projector set to eco mode may produce a dull picture, negating the benefits of a high-gain screen. Regular calibration, including using test patterns, ensures uniformity and vibrant colors. This detailed calibration process is explained thoroughly in this expert calibration guide.
In summary, avoid the trap of oversimplification. When selecting your projection screen for a bright room, consider the nuanced relationship between gain, size, material, and room lighting. Remember, the goal is a balanced system that works harmoniously, not just the highest gain or the largest screen. Have you ever fallen into this trap? Let me know in the comments.
Keeping your projection screen in top condition is essential for sustaining optimal image quality over time. Regular maintenance not only preserves the visual performance but also extends the lifespan of your investment. One of the most effective ways to do this is by routinely cleaning your screen with gentle, non-abrasive tools. Use a microfiber cloth to remove dust and fingerprints without scratching the surface. For stubborn stains or smudges, a mixture of distilled water and a small amount of isopropyl alcohol can be applied lightly, ensuring you avoid harsh chemicals that might damage delicate screen materials.
In addition to cleaning, inspecting your screen for signs of wear or damage is crucial. Look for tears, warping, or discoloration, which can affect image uniformity. If you notice uneven reflection or hot spots, it might be time to consider reapplying a specialized coating or replacing the screen material. For screens with motorized or manual masking, regularly check that all moving parts operate smoothly and are free of debris.
What Tools Do I Recommend for Long-Term Maintenance
Personally, I swear by a few specific tools that make maintenance straightforward. A high-quality microfiber cloth is indispensable for dusting and wiping down the surface without leaving lint or scratches. I prefer using a lens cleaning solution diluted with distilled water for cleaning larger areas, as it’s gentle yet effective. For more thorough inspections, a small flashlight helps reveal subtle imperfections that could compromise picture quality.
Another tool I recommend is a calibration disc or test pattern generator, which allows you to verify color accuracy, contrast, and uniformity periodically. Performing calibration checks every few months ensures your projector and screen are working harmoniously, especially if your setup is in a room with changing ambient light conditions. This proactive approach prevents minor issues from escalating into significant picture degradation over time.
Predicting Future Trends in Screen Maintenance
Looking ahead, I believe the trend will shift toward smarter, self-cleaning screens embedded with nano-coatings that repel dust and stains. Additionally, advancements in sensor technology might enable automatic calibration and real-time health monitoring of your projection system, alerting you before a problem significantly affects your viewing experience. Investing in such future-proof solutions now can save time and money in the long run.
How do I maintain my projection screen over time?
The key is consistency. Incorporate routine cleaning with gentle tools, inspect for damage regularly, and perform periodic calibration checks using test patterns. Don’t forget to control ambient light and ambient conditions that could accelerate wear. By staying vigilant and proactive, your screen will continue delivering stunning images for years to come. Try integrating a microfiber cloth and calibration disc into your maintenance routine today to experience immediate improvements in picture quality.
For an in-depth guide on selecting the right tools and techniques, check out this expert maintenance guide.
The Hardest Lesson I Learned About projection screen,alr screen,screen material,screen gain,screen size
One of my biggest surprises was realizing that high gain screens, while tempting for brightness, can actually cause uneven images if not chosen carefully. The lesson? Balance is key. I once thought that bigger and brighter was always better, but I learned that the perfect setup depends on matching the gain with your projector’s lumens and room lighting. This insight saved me from frustrating hot spots and washed-out images in my bright living room.
3 Myths About projection screen,alr screen,screen material,screen gain,screen size That Held Me Back
I used to believe that a higher gain screen would automatically improve my viewing experience. It’s not that simple. Screens with very high gain can produce glare and hot spots, which distort the picture. The real benefit comes from understanding the material’s gain characteristics and choosing a balanced gain of around 1.3 to 1.5. Another myth? That size is everything. I found that selecting the right size involves considering my room dimensions, projector resolution, and viewing distance, which are all critical for a comfortable and immersive experience.
What Experts Won’t Tell You About projection screen,alr screen,screen material,screen gain,screen size
Most experts emphasize gain and size, but they often overlook room lighting control. The truth is, even the best high-gain screen can be washed out by ambient light. I discovered that investing in blackout curtains and strategic lighting made a bigger difference than just upgrading the screen material. Also, calibrating my projector regularly and cleaning the screen kept the images sharp and vibrant over time, proving that maintenance and environment are just as important as the hardware choices.
Curated Resources for Bright Room Projection Success
My go-to resource is the projection screen size and material guide. It helped me choose the right size and material based on my room and projector specs. For understanding gain options, I trust the ALR screen gain options guide, which explains how to optimize gain for bright environments. Additionally, the material and gain explanation helped me decode what to look for in screen fabrics. Lastly, for ongoing maintenance, I recommend the expert tips on screen maintenance that ensures my setup stays pristine.
Your Turn to Try
Choosing the right projection screen for a bright room isn’t just about picking a high-gain material. It’s about understanding the nuanced balance between gain, size, projector brightness, and ambient lighting. When you get these elements right, your images will pop with clarity and vibrancy, even in daylight. Remember, a well-calibrated, properly maintained system makes all the difference. Are you ready to optimize your bright room setup and see your movies in stunning clarity? Let me know below.
This article really resonated with my own experience setting up a projector in my sunlit living room. I used to think that simply increasing projector brightness was the only fix, but I realized that optimizing screen gain and choosing the right materials made a huge difference. I especially appreciated the emphasis on balancing gain with projector capabilities to avoid hot spots and glare. It’s interesting to see how small adjustments, like controlling ambient light or calibrating the projector regularly, can significantly improve the picture quality.
One thing I’ve found particularly helpful is using blackout curtains during daytime viewing to minimize glare. Have others had success with specific brands or types of curtains that don’t compromise natural light but still improve contrast? Also, do you think future advancements like self-cleaning screens will become mainstream, or will traditional maintenance still be necessary? I’d love to hear about others’ experiences balancing hardware choices and environmental controls for the best bright-room projection results.
Reading this article really hit home for me. I used to think that maxing out my projector’s brightness was the only way to get good image quality in a bright room, but I quickly learned that choosing the right screen material makes a world of difference. I upgraded to a matte white screen with a gain around 1.2, and suddenly, everything looked so much clearer, even during daytime. It’s interesting how small tweaks like this can enhance the entire setup without necessarily spending a fortune.
One challenge I still face is managing reflections in rooms with large windows. I’ve experimented with blackout curtains, but I’m curious if anyone has tried special films or window treatments that let in natural light but still reduce glare effectively. Also, what’s your go-to cleaning routine for maintaining screen clarity over time? I’d love to hear some recommendations or tips from others who’ve optimized their bright room setups. Are self-cleaning screens worth the investment, or do you prefer traditional cleaning methods? It’s great to see more focus on environment control and maintenance—these often-overlooked factors are crucial for consistent image quality.
Reading through this post really reiterated some of my own experiences with projector setups in naturally lit rooms. I initially believed that simply boosting the projector’s lumen output was the best way to get vibrant images, but I soon realized that selecting a screen with the appropriate gain is just as vital. I switched from a standard white matte screen to one with a gain around 1.3, and the improvement was night and day—images became sharper and more colorful, even in daylight. I also started experimenting with blackout curtains, which significantly cut down glare without blocking too much sunlight.
This post really sheds light on the importance of understanding screen gain and how it directly impacts picture quality in bright rooms. I’ve personally struggled with washed-out images despite having a bright projector in my living space. After switching to a high-gain screen with a gain around 1.3, the difference was noticeable — colors became richer, and the image no longer looked dull even during the day. One thing I’ve learned along the way is that calibrating your projector’s settings, especially contrast and brightness, works best when matched with the right screen material. Matching the gain with your environment and projector specs is key.
That said, I still find managing ambient light tricky, especially in rooms with large windows. Have others tried using special window films or coatings that reduce glare without blocking too much natural light? Also, I’m curious about your thoughts on future trends — do you think self-cleaning screens will become common, or will manual cleaning remain essential? For me, routine cleaning with a microfiber cloth is enough for now, but I’d love to hear if anyone has insights into the latest innovations in screen maintenance or environmental control.