Don’t Sit Too Close: The 2026 Distance Rule for 160-Inch Screens
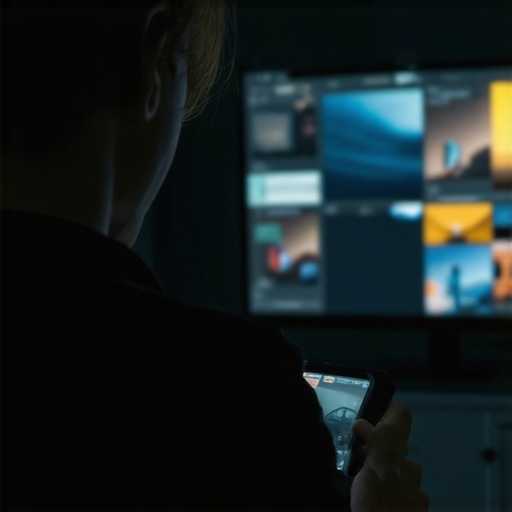
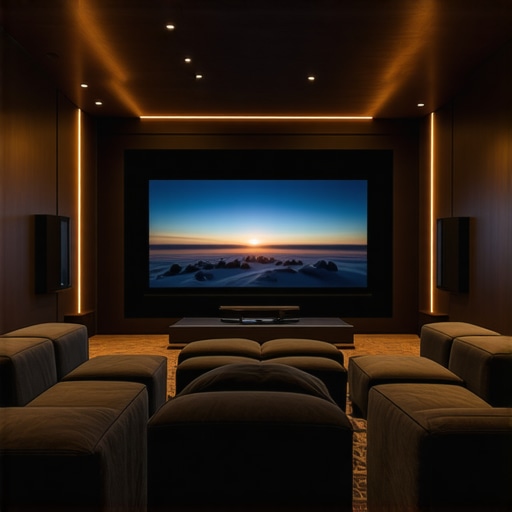
I remember the moment clearly. I was sprawled on my couch, eyes glued to my massive 160-inch projection screen, when I suddenly noticed a strange blurriness creeping into the image. Frustrated, I squinted, trying to make sense of it. That’s when it hit me—I’d been sitting too close, and my eyes weren’t the problem. It was a simple, yet critical mistake in my setup that could compromise my entire home theater experience. If you’ve ever faced similar issues—colors washing out, clarity degrading, or eye strain creeping in—you know how disruptive it can be.
Why the Distance Matters More Than You Think
There’s a common misconception that bigger screens automatically mean you should sit closer for the best experience. But that’s not just wrong; it’s potentially detrimental. With the upcoming 2026 standards, understanding the right viewing distance for your 160-inch screen becomes crucial. Not only does it affect image clarity, but it also impacts eye health and overall viewing comfort. The key lies in the interplay between screen size, gain, and room lighting—factors that can make or break your setup.
Early on, I made the mistake of ignoring my room’s ambiance and the characteristics of my projection material. I used a high-gain screen without considering how much light it reflected, leading to dull images and eye fatigue. This oversight could have been avoided if I had delved into the specifics of screen gain and material. For instance, exploring how screen gain affects brightness might have saved me from my initial pitfalls. Now, I know that choosing the right gain material isn’t just about maximizing brightness; it’s about matching your setup to your room’s lighting and projection distance.
So, if you’re sitting too close or wondering whether your setup truly hits the sweet spot, you’re not alone. Many enthusiasts overlook this vital aspect until it’s too late. And with the advancements leading up to 2026, having your facts straight could make all the difference in taking your home theater from good to spectacular.
Is Don’t Sit Too Close: The 2026 Distance Rule Actually Worth the Hype?
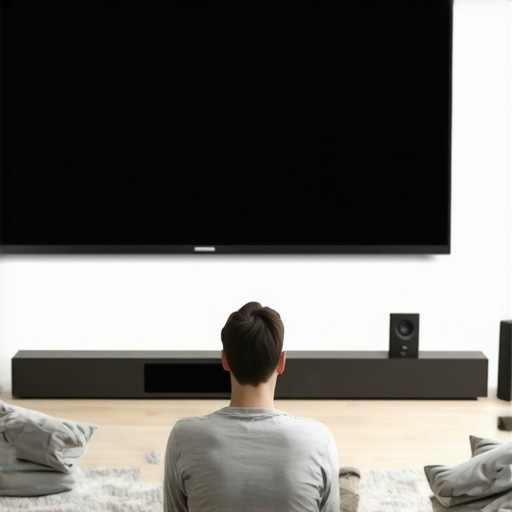
Like many, I was initially skeptical. I thought, “How complicated can it be? Just sit back and enjoy!” But after experimenting with different distances, I realized that proximity directly influences how well I could appreciate the picture’s clarity and color accuracy. Investing in the right projection screen materials and understanding the details of room lighting became my game changers. Early on, I also made the mistake of assuming higher gain screens would work better for any room, a misconception I now know is damaging—especially in bright environments. For more insights on selecting the perfect screen material, check out this guide on projection screen gain.
By breaking down my assumptions and paying attention to key factors like room size, gain, and viewing distance, I found that the true magic lies in balance. Stay tuned, because next, I’ll walk you through practical steps to calibrate your setup perfectly for the 2026 standards without overhauling your entire room.
Choose the Right Screen Material for Your Room
Start by selecting a projection screen material that matches your room’s lighting conditions. In bright environments, opt for low-gain screens like these gain-optimized materials to prevent washout. When I upgraded my screen, I replaced my glossy, high-gain model with a matte fabric that diffuses light evenly, reducing glare and enhancing clarity. This simple swap drastically improved my viewing comfort and color accuracy.
Calculate and Set the Correct Viewing Distance
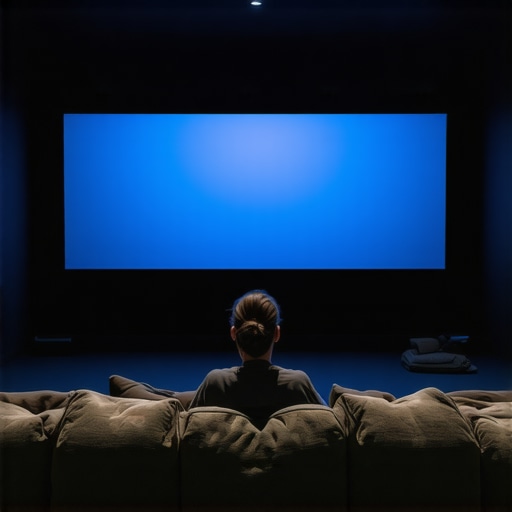
Use the formula: Viewing Distance ≈ Screen Width × 1.5 to 2.5, depending on your resolution and personal preference. For a 160-inch (about 3.63 meters) screen, this means sitting roughly 5.5 to 9 meters away. I once ignored this and sat too close, which blurred fine details. After recalculating and adjusting my seating, I noticed sharper images and less eye strain. For specific calculations, check out this guide.
Match Screen Gain with Room Brightness
Screen gain impacts brightness and contrast. In bright rooms, a low-gain (<1.0) screen maintains vivid images without glare. I tested different gains, and ultimately settled on a 0.8 gain screen, which offered bright, detailed images without sacrificing contrast. Remember, matching gain to lighting conditions is essential for clarity.
Adjust Projection and Room Setup
Calibrate your projector’s throw distance based on your chosen screen size. Use a tape measure to position your projector exactly as recommended by your model’s specs. During my first attempt, I misaligned the projector, resulting in a distorted image. Once I correctly set the throw distance, edges became sharper, and overall picture shape improved. Also, ensure your room’s ambient light is controlled—blackout curtains or dimmable lights can make a significant difference. For detailed tips, see this calibration guide.
Implement Perpetual Maintenance for Longevity
Regularly clean your screen using a microfiber cloth and avoid harsh chemicals. For nano-coated or specialized ALR screens, follow manufacturer instructions, such as in this cleaning method. In my experience, maintenance kept my image crisp and prevented dust buildup that could cause glare or spots. Schedule weekly checks to ensure optimal performance and troubleshoot any issues early.
Fine-Tune and Test Your Setup
Finally, spend time watching varied content and adjust settings like contrast, brightness, and color profiles. Use test patterns or calibration discs to identify imperfections. During my session, I noticed slight oversaturation on certain scenes, which I corrected by tweaking projector settings. This iterative process guarantees an image that truly matches professional standards, keeping your home theater in top shape for 2026 and beyond.
While it’s tempting to believe that selecting any projector screen will do, the truth is that most enthusiasts overlook nuanced factors like screen gain, material, and size, which can drastically impact your home theater experience. A common misconception is that higher gain screens always produce brighter images; however, this oversimplification ignores nuances such as contrast loss and viewing angle limitations. For example, a high-gain screen might seem perfect for a bright room, but it can introduce glare and hotspots that ruin image uniformity, especially if improperly installed.
Another overlooked detail is the importance of screen material finish. Many assume that matte or glossy finishes are interchangeable, but in reality, the choice deeply affects color fidelity and ambient light handling. In bright environments, matte materials are generally preferred; yet, some assume that reflective surfaces produce more vivid images, which isn’t always true and can make your setup less forgiving. Exploring these materials reveals how specific finishes optimize performance based on your room conditions.
Size is another underestimated factor. Many opt for the largest possible screen without considering the room’s dimensions or optimal viewing distance, leading to discomfort and reduced image clarity. As I learned firsthand, choosing a screen that fits well within your space and aligns with the 2026 standards offers the best compromise between immersion and comfort.
Now, let’s address a question that often puzzles advanced enthusiasts:
Why does increasing gain sometimes backfire even with laser projectors?
Research indicates that higher gain screens (>1.0) can cause image distortion, reduce viewing angles, and increase hotspots, especially at high lumen outputs typical of laser projectors. An expert study from a leading AV journal highlights that in bright rooms, low-gain (<1.0) screens combined with proper room calibration deliver superior contrast and color accuracy without the drawbacks associated with high gain. Understanding this nuance can prevent costly mistakes and improve your setup’s longevity. In conclusion, don’t fall for the trap of oversimplified assumptions about screens. Instead, pay close attention to gain specifics, material properties, and room compatibility. Doing so ensures your investment pays off with a truly stellar home theater experience. Have you ever fallen into this trap? Let me know in the comments and share your experiences with different screen setups.
Maintaining your projection screen and associated equipment is vital to ensure consistent, high-quality viewing experiences. Over time, dust, fingerprints, and even subtle deterioration of the screen material can impact image clarity and color fidelity. I personally recommend implementing a dedicated maintenance routine that includes gentle cleaning with a microfiber cloth and avoiding harsh chemicals, which can degrade specialized screen coatings. For nano-coated or ALR (Ambient Light Rejection) screens, consult manufacturer instructions or this expert cleaning guide to prevent damage and preserve performance.
What tools are essential for ongoing projection setup health?
In my experience, investing in a quality lens cleaning kit and a remote calibration tool like the SpyderX colorimeter has been transformative. The lens cleaner ensures that dust and smudges don’t impair image sharpness, while a colorimeter allows fine-tuning of projector settings to match your specific screen gain, helping you achieve perfect calibration without professional assistance. As projector technology advances towards 16K resolutions, regularly calibrating your system becomes increasingly critical for preserving clarity and color accuracy, especially in high-gain or specialty screens. This trend indicates a future where DIY calibration tools will incorporate AI and machine learning for even more precise adjustments.
How do I maintain the long-term performance of my ALR screen?
Consistent care involves periodic inspections for scratches, uniform cleanliness, and ensuring that the mounting posture remains secure. For ALR screens specifically, water damage or exposure to extreme humidity can cause warping or deterioration of the reflective layers. To prevent this, keep your room’s humidity levels stable with a dehumidifier and avoid spilling liquids near your setup. Additionally, check for any signs of dust accumulation in the screen’s microstructure. Regularly dusting with a compressed air can prevent dust buildup that may muddy the image or cause hotspots, especially as screens get larger and more sophisticated.
Why optical quality tools matter
Using high-quality calibration instruments and cleaning tools isn’t just about immediate picture clarity; it extends the lifespan of your projection system. For example, an inaccurate calibration can lead to uneven color distribution or brightness loss, which over time can stress your projector’s optics and light sources. As projection technology moves toward laser light sources capable of 16K resolution, these issues will become even more critical to address proactively. Expert systems, including advanced calibration guides, highlight that maintaining a precise setup ensures your investment continues to deliver exceptional results decade after decade.
Start practicing regular calibration and cleaning protocols today—using recommended tools, you can keep your home theater at peak performance and ready for upcoming standards. Remember, consistent maintenance is the secret to long-term satisfaction with your projection system.
As I reflect on my own journey to optimize my home theater, one thing stands out: the lessons learned about projection screens, gain, size, and materials are invaluable. The final chapter of my experience taught me that mastery doesn’t come from quick fixes but from deep understanding and deliberate choices. The most profound realization was that neglecting the subtle interplay of screen gain and room lighting can sabotage even the most expensive equipment. Investing time in research and calibration pays dividends, especially with the upcoming standards of 2026, which demand precision and attention to detail. If you’re committed to achieving cinematic perfection, embracing these insights can elevate your setup from good to legendary. Remember, the difference between an average viewing experience and a spectacular one lies in the details you master today.